Vegegro DIY Installation Guide
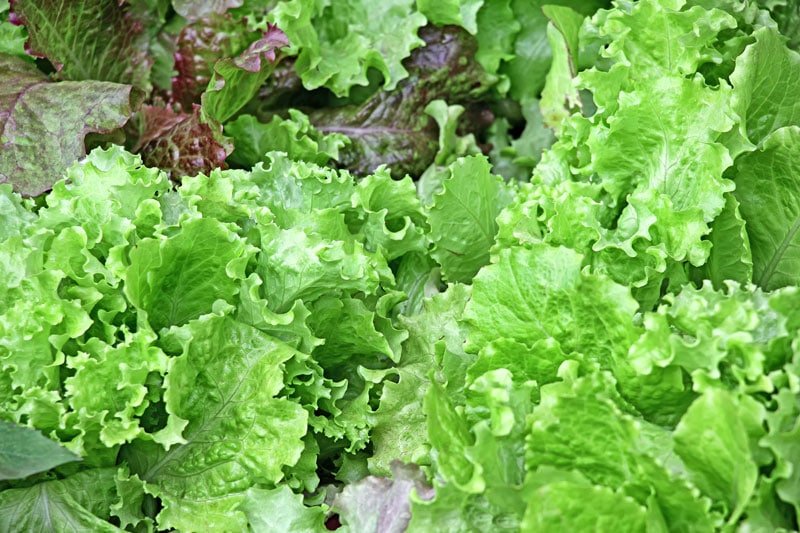
Growing vegetables is easy with Vegegro
Step by step guide to DIY Vegegro installation
Vegegro mats are easy to lay and care for
Buy online for nationwide delivery
Your step by step guide to growing vegetables with Vegegro
Vegegro mats combine the nutrients in dag wool and the moisture retention properties of natural recycled jute fibre. The seeds are embedded in the wool to create an optimum environment of warmth and moisture for seed germination. As the mat biodegrades it continues to feed the plants and condition the soil for sustainable growth.
Read the DIY installation steps below…
Step 1 - Garden bed preparation
The site preparation process is as follows:
- Dig over planting area and loosen soil to a spade depth. Remove any weeds, stones or other debris.
- Level planting area with a rake and gently compact the soil with your hand. Ensure the soil is smooth and level so that all parts of the vege mat are in contact with the soil.
- Dampen soil with water using a fine spray.
HANDY HINT: Cut mat in half and plant 2-4 weeks apart to have a continuous supply.
Step 2 - Laying Vegegro mat
Once your base is prepared you can lay the Vegegro mat ready for growing.
- Lay vege mat over area. Lay paper side down wool side up. If required, you can cut the vege mat to fit with sharp scissors.
- Cover vege mat with 2 to 3 handfuls of potting mix or heat treated compost (5-10mm). Keep entire mat covered with compost adding more if the wool becomes exposed. (Don’t use natural topsoil as it will have weed seeds).
- Water gently using a fine spray twice a day or enough to keep compost topping continuously damp until young seedlings are 10cm high. Water only until area is damp, avoid over-watering. Then water as required to keep soil molst.
- Thin and eat seedlings as required.